
TRICKLE TOWER/WATER POLISHER
In the last filter system design I built I included a trickle tower as the last stage. Trickle towers help the pond by aeration of the water before it moves back into the pond as well as helping to remove dissolved nitrates, and even adds some biological action. In my case, however, even with mechanical filtration at the beginning vortex stage of the filter system, I saw a need to remove some more solids, so I designed a "water polisher" component to my trickle tower to remove small particles of dead algae that passed through the rest of the filter system. This "waste basket" design can still be seen in the FILTER SYSTEMS
part of this website. The polisher functioned ok but I felt that it was wasteful of the batting material. I decided to improve on the basic design.
Here is a diagram of the new design:

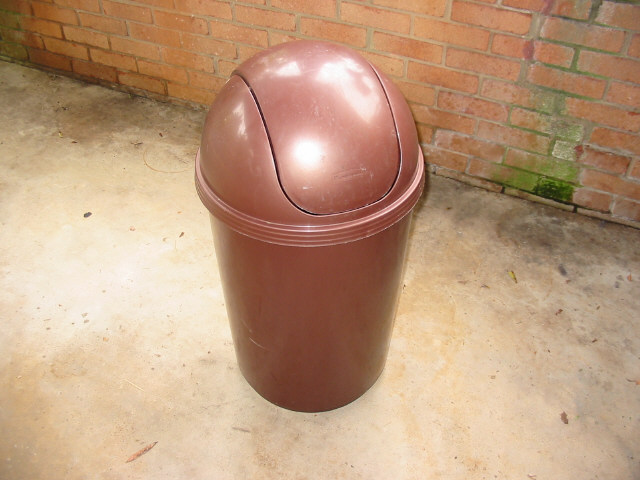
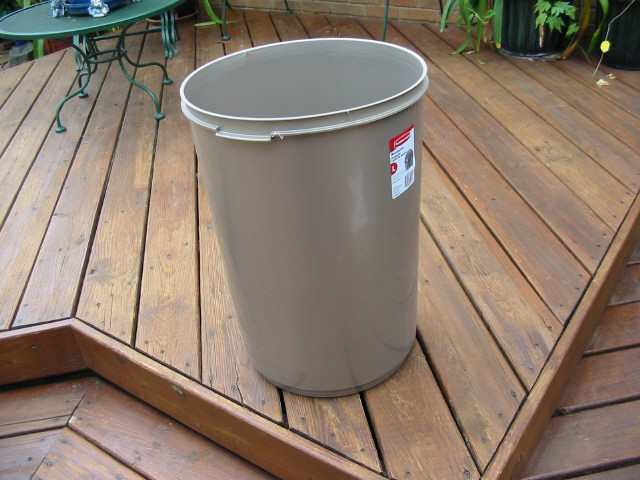
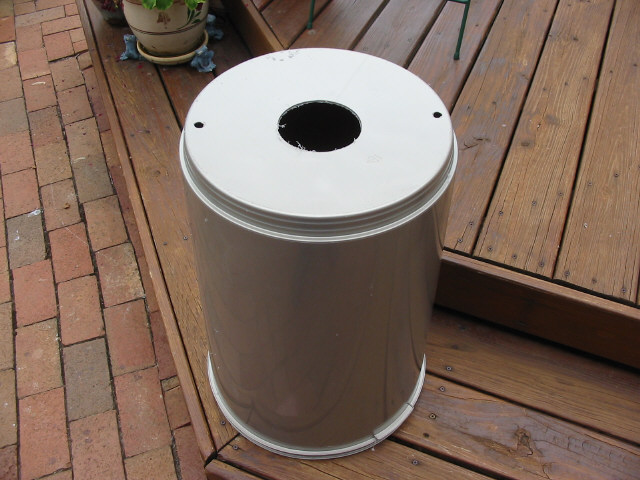
The starting point is a Rubbermaid "bullet" trash can. Cost was $19.95.
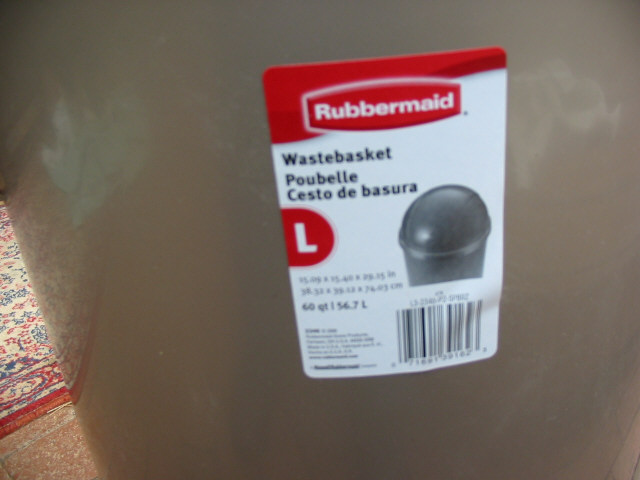
Here is the label:
This is the only part of the can to be used. The top was discarded.
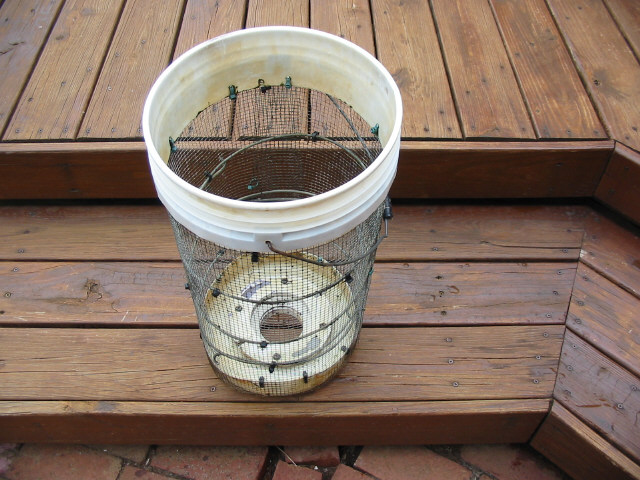
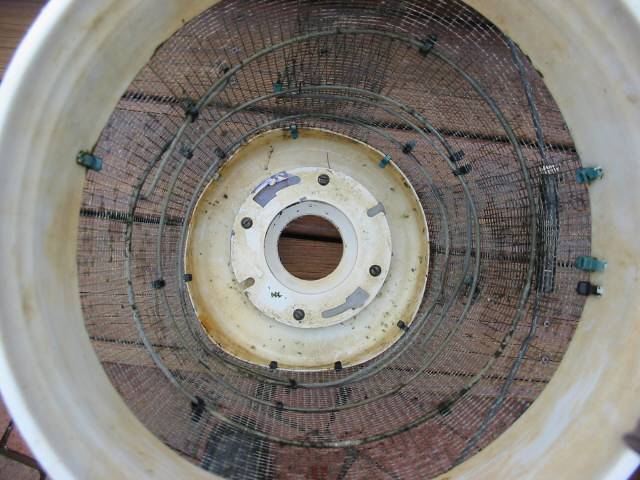
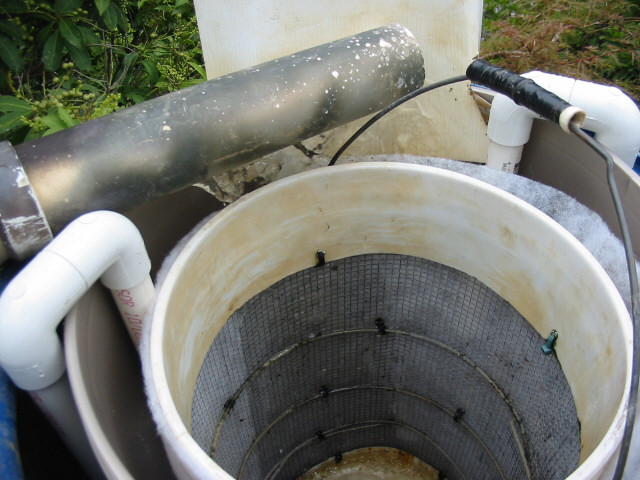
The next step is to cut apart a standard 6 gallon plastic paint can and cut away the center section. Then replace the center with hardware cloth, with 1/4 inch wire mesh as in the photo. The bucket overall height should be increased to a total of 22 inches by making the wire mesh cylinder taller than the part of the bucket that was cut away. A pvc toilet flange is mounted in the bottom of the paint bucket and bolted into place so that a section protrudes an inch and a half out the bottom. Because the water pressure on the filter basket will be severe, hoops made from the heavy galvanized wire used in chain link fence stabilization are installed inside the mesh as shown to prevent collapse. Note that the bucket bail is retained.
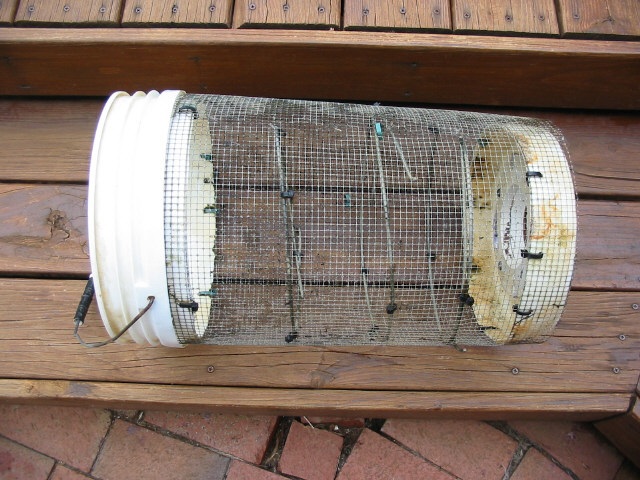
Study these pictures for construction details of the basket. Note the generous use of cable ties to secure the mesh into cylinder shape and to the bucket parts.
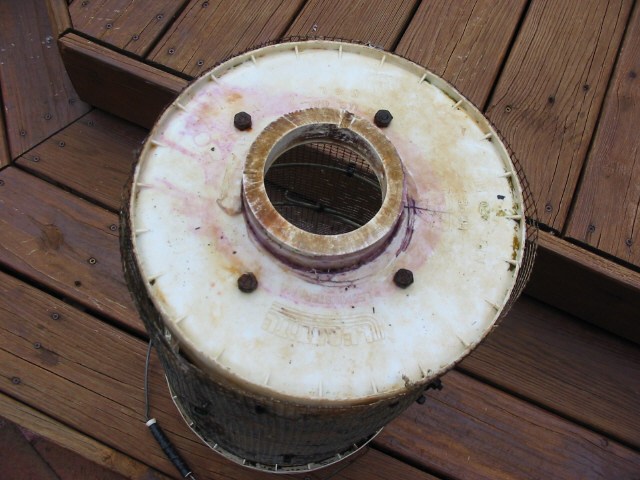
Next, fashion two lock pins from the same heavy duty galvanized wire as the hoops. Then drill the protrusion from the basket as shown here. Be sure to leave at least 3/4 inch of the protrusion to fit into the milk crate.

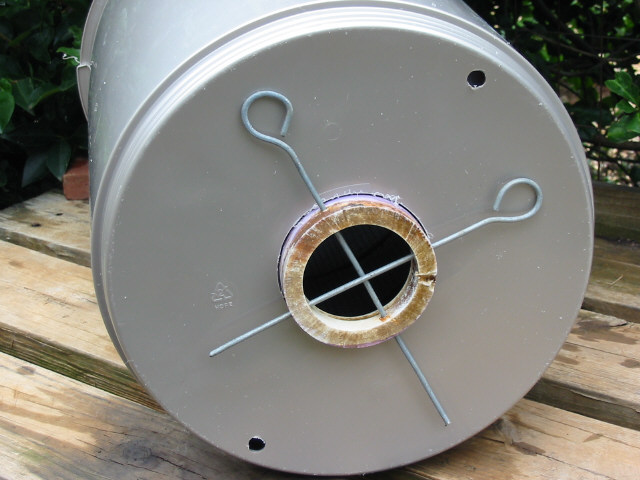
Using a hole saw, drill a hole in the center of the bottom of the trash can just large enough for the protrusion at the bottom of the basket. Also drill two small "weep" holes as shown here:
Once this is done, the basket should fit inside the trash can, enabling the two to be pinned together with the lock pins as shown here:
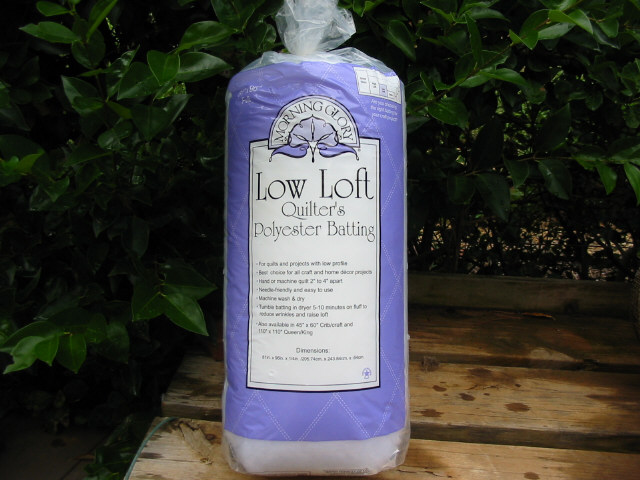
Obtain low loft polyester batting such as this:
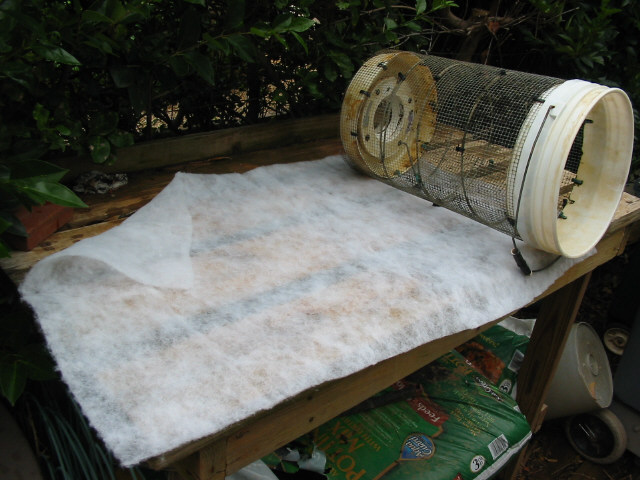
Cut a strip to fit the basket, and roll it around the basket and secure with a bungee cord thusly:
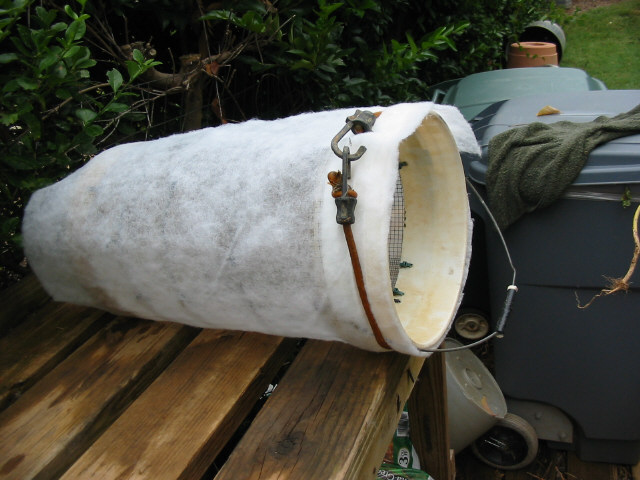
Reassemble the basket into the can and insert the lock pins.
Using 3/4 inch pvc parts, assemble and glue three "centering spacers". They should be about 10" long and should look like these"
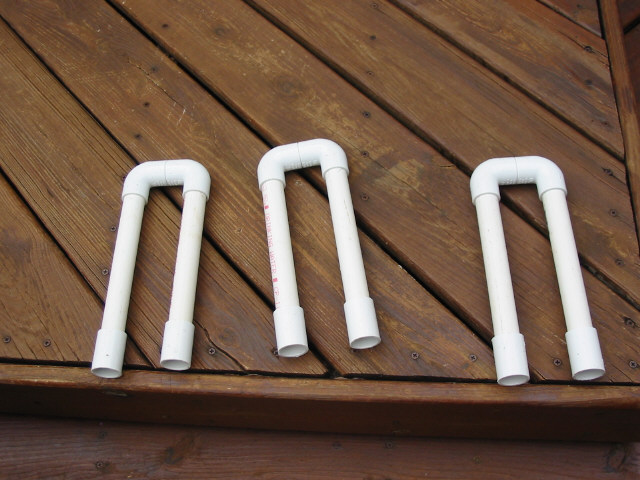
After inserting the centering spacers, the polisher should appear thus:
Next, you will need an old milk crate that will fit inside of a 30 gallon poly drum. With the crate in the drum, cut a hole in the center for the basket protrusion to fit into ( Note: In my case this hole is off center of the milk crate but is centered in the Drum. This was because of the air duct pipe. This will allow the basket and trash can device to be centered in the drum. The milk crate can then be filled with 1 inch long 3/4 inch pvc pipe pieces to act as the "trickle media". See FILTER SYSTEMS for more information on the air duct pipe and the fabrication of pvc media.
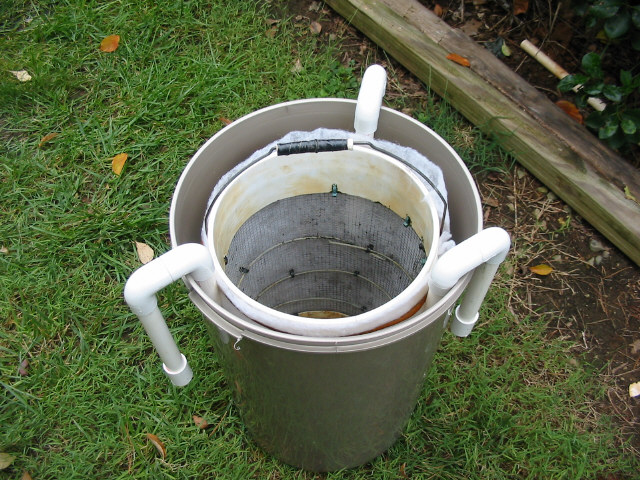
The assembled polisher will look like this after the water inlet is tweaked to allow water to enter the device between the trash can and batting covered basket. The water "baffle" clip was cut from some leftover aluminum siding metal.
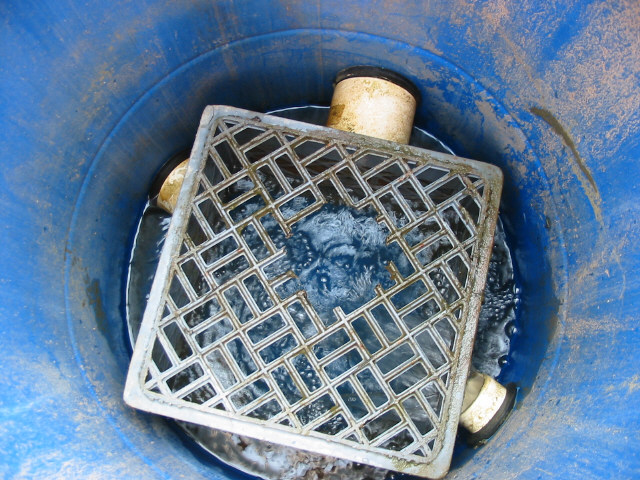
Here is a picture showing the water entering the polisher.
OPERATION
The water flow into the trash can filters through the batting into the basket center and leaves through the bottom into the media filled milk crate, then drains into the pond. As the filter fills up with detritus, the water level in the trash can rises, eventually flowing over the top of the basket rim into the center. Even though at this point, the mechanical filtering has ceased, the batting still functions as trickle media as the water runs down the inside surface. Opening the bypass valve allows for batting replacement without interrupting flow back to the pond, and at the same time allows the polisher to drain empty via the "weep" holes. In about 5 minutes the device is empty and can be easily hoisted out of the drum using the bucket bail (Note that the 2" pvc slotted "nozzle" that directs the water between the basket and trash can receptacle must be removable, in other words, do not glue it in place.) Remove the centering lock pins and the basket will lift out of the trash can. Remove the bungee and the used batting will easily unwind from the basket for disposal and a new batting can be installed. Re-assemble the parts, replace the centering lock pins, replace the whole affair in the 30 gallon drum, reinstall the "nozzle", adjust the baffle and slowly turn the bypass valve to "off". Maintenance is done. Once the polisher is completed, the batting replacement should take no more that 4 or 5 minutes from start to finish.
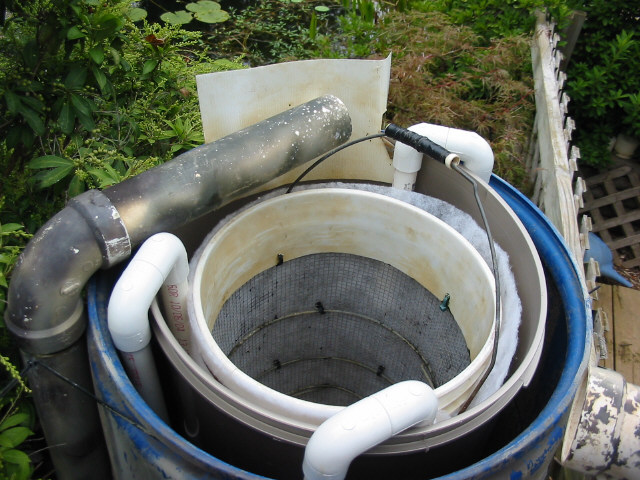
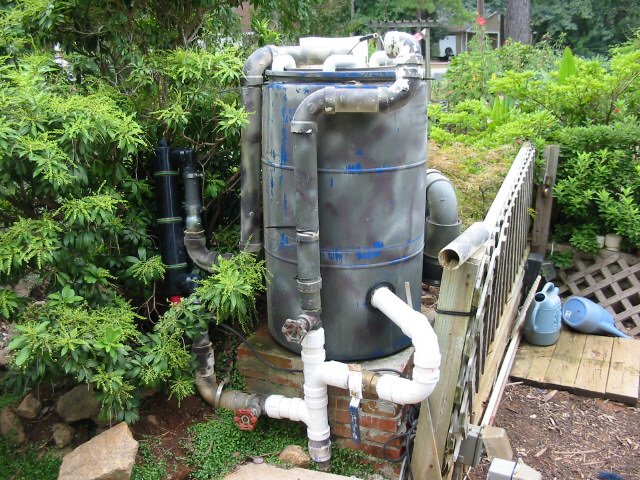
This last picture shows the plumbing. The lever handle on the right is the polisher bypass valve

E-MAIL ME

Last modified on August, 29, 2007