
Background
I acquired a glass and aluminum 9' x 7' greenhouse in 1976. Over the years, I doubled its size to 9' x 14', using discarded window sashes. In November, 2000, needing more growing space, I built my hoophouse, based on the one published by North Carolina State University. The NCSU hoophouse was 12' x 14', but I adjusted the design to a smaller 12' x 12' size. I strongly suggest you study the NCSU version before begining your own hoophouse. See it at
http://www.bae.ncsu.edu/programs/extension/publicat/postharv/green/small_greenhouse.pdf .
I made a few other changes to the NCSU design, notably attaching the "hoops" to the inside of the base, rather than outside, which allowed for an easy transition to a further design change later on. I also added two 2" x 6" rafters to increase stability and provide for hanging basket support.
In the spring of 2001, I elected to double the film covering by assembling another array of "hoops", this time attaching them to the outside of the base. This allowed me the added insulation factor of double film with each layer stretched over its own support.
In 2005, I decided to dispose of my original glass greenhouse after 30 years of use for various reasons. To accommodate the plants kept in the glass greenhouse, I expanded the hoophouse by 6 feet in length, bringing the total size to 12' wide by 18' long. I continued the "double film" construction method for the extension.
The instructions contained herein relate only to the original 12' x 12' single film version as I originally built it, but one can easily adjust the plans for any length and for a double film version.
I originally purchased a standard propane heater for the hoophouse, but in the moist environment, it corroded beyond repair in two years. I replaced it with a Southern Burner Greenhouse gas heater that has worked perfectly for the last six years. Southern Burner heaters are available for either propane or natural gas and unvented (as is mine) or vented. If you intend on keeping orchids, you absolutely must go with the vented model.
Construction notes:
1. Level construction area.
2. Lay out 2 x 6 foundation boards in a perfect square. Locate positions of of anchor holes and dig holes two feet deep.
3. Re locate foundation boards. Attach with 3 inch galvanized deck screws. Check to
see that base is square.
4. Attach anchor boards vertically on the inside of the base with 2 1/2 inch galvanized
deck screws. Re-check that base is square.
5. Fill anchor holes with premix concrete. Allow to set up overnight. When concrete
is set up, using a permenent magic marker, mark the center location for each rib on the
top of the foundation boards. Each mark should be about 23 1/3 inch apart.
6. Cut six pieces of 3/4 inch schedule 40 PVC to a length of 22 1/5 inches.
7. On a flat surface, glue one PVC TEE to one of the 22 1/2 inch sections, then glue a
PVC CROSS to the other end, taking care that the sides are flat against the surface.
8. Continue alternating PVC pipe sections and CROSSES until all you have left is one
TEE. STOP THERE.
9. Insert the 1/2 inch by 10 foot long galvanized metal conduit into the assembly of
pipes and CROSSES. (This is to strengthen the top ridge pole, which is comprised of six sections and crosses.) THEN attach the final PVC TEE, making sure entire assembly is flat.
10. Using Aluminum furnace tape, completely cover the assembly, taking care not to
cover the holes in the TEES and CROSSES.
11. Cover 14 PVC 10 foot PVC pipe sections with Aluminum furnace tape. Leave 1
inch UNCOVERED on each pipe at one end. This is the end that will be inserted into a
TEE or CROSS.
12. Move the now completed ridge pole and ribs to the construction location.
13. Glue the aluminum tape covered PVC pipe ribs into the ridge pole assembly.
14. With the help of an assistant holding the assembly as high as possible, begin
attaching the ribs to the INSIDE of the foundation base at the premarked spots with the
galvanized conduit clamps and 1 inch drywall screws.
15. Once the entire rib and ridge pole assembly is in place, construct the end frames.
door and end braces. Attach the end frames to the end ribs with metal straps and 1 inch
drywall screws.The floor end of the braces should be set in concrete at least 14 inches
deep.
16. Cover with film. Position the film so that there is just enough to reach the "A"
frame pieces at the door end. Roll the edge of the film and staple through the roll, or
use weather strip foam for a stapling aid.
17. Cut to size from the excess at the other end pieces to cover the door and end
sections.
Notes:
Be sure to use real greenhouse film instead of the cheap clear film sold at Home Depot, etc. Real greenhouse film is available at ACF Greenhouses: http://www.littlegreenhouse.com/accessory/plastic.shtml#film .
They also handle the Southern Burner heaters ( http://www.littlegreenhouse.com/accessory//heaters2.shtml#sburner and have a useful greenhouse BTU calculator ( http://www.littlegreenhouse.com/heat-calc.shtml ).
As noted above, I recommend covering the pvc with aluminum furnace tape, leaving 1/2 inch at the ends for gluing into the crosses. Cover the crosses with the tape after the glueing. This accomplishes two things: First, pvc pipe becomes brittle after only a year's exposure to sunlight. Covering it will make it last forever, Second, greenhouse film reacts chemically with pvc pipe, causing early deterioration. In fact, many companies will void your film warranty if they know it was used in conjunction with pvc pipe.
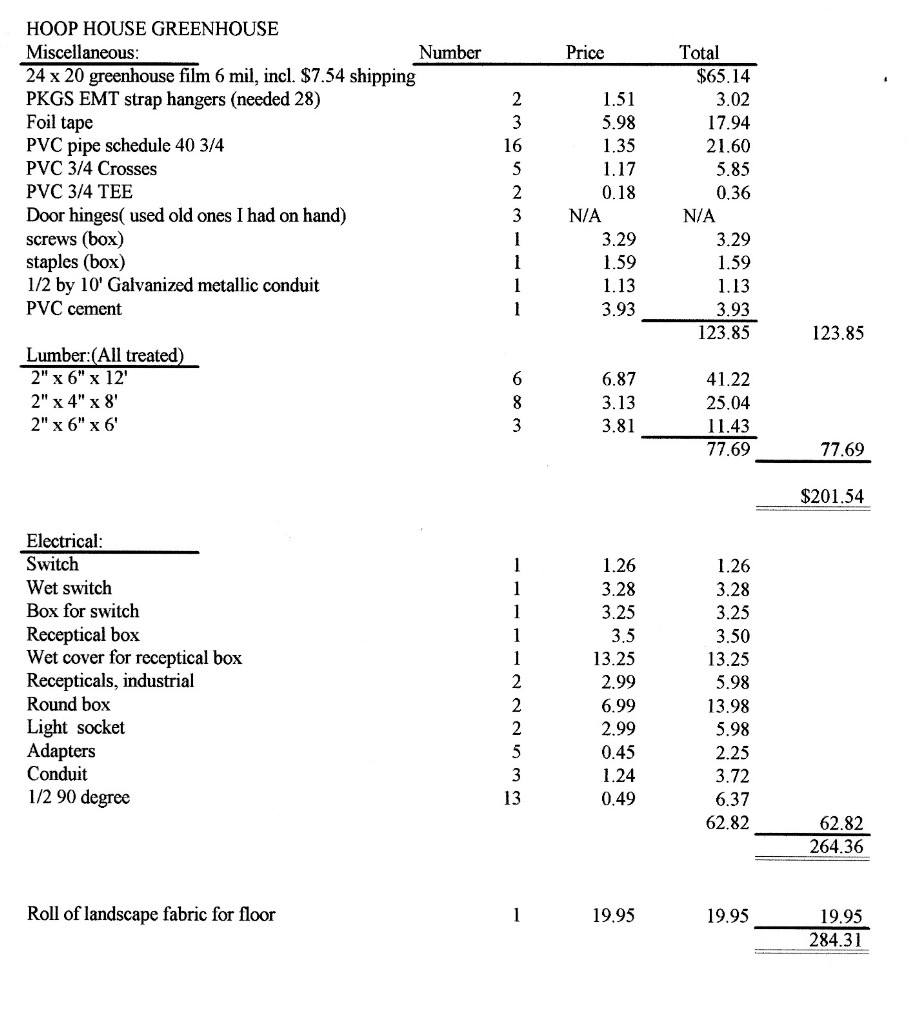
My parts list:
Side drawing:

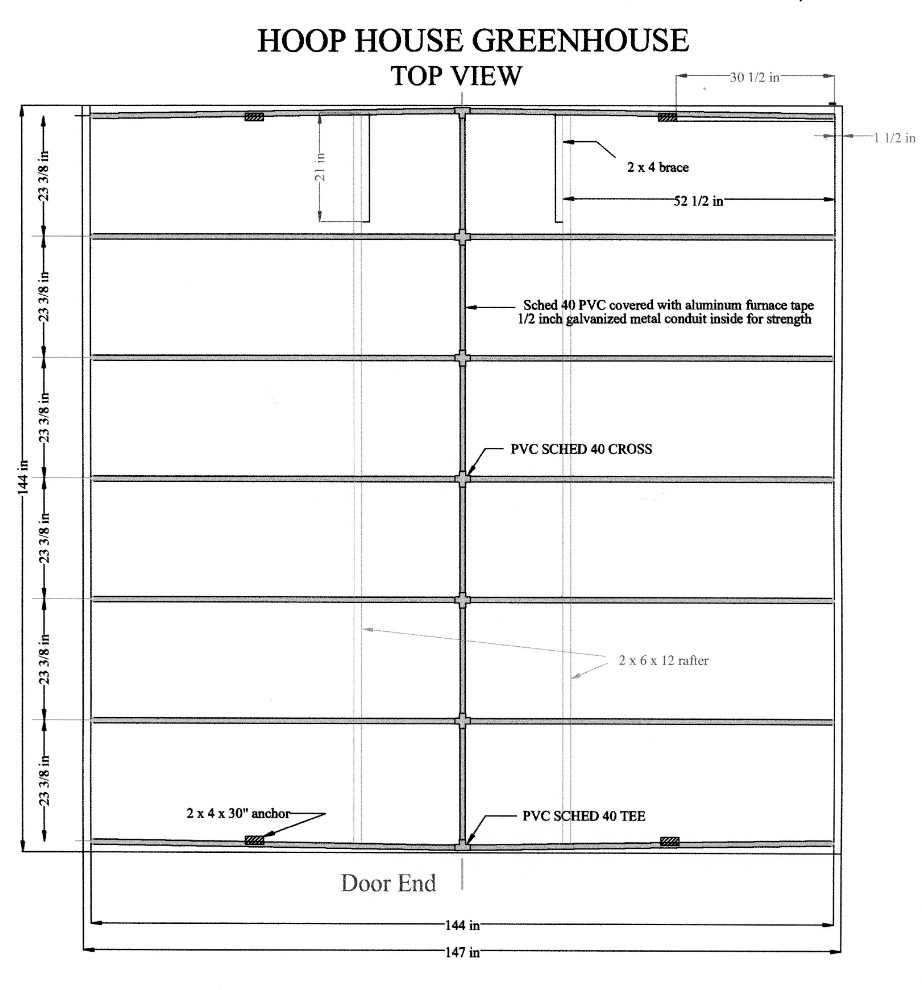
Top drawing:
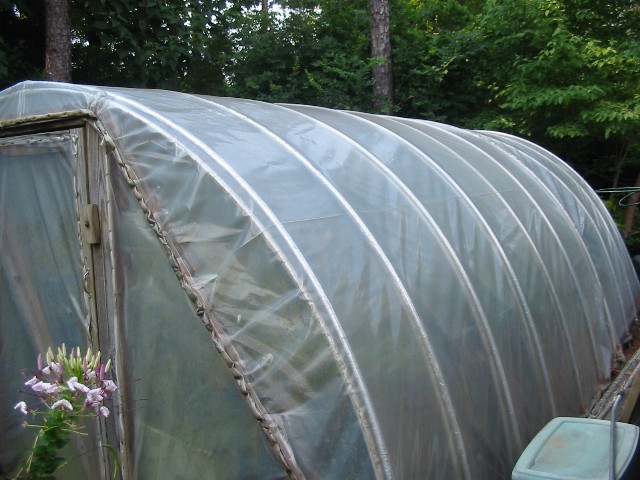
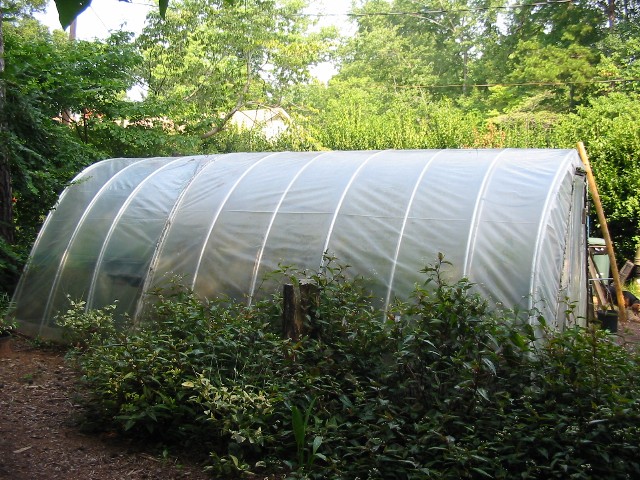
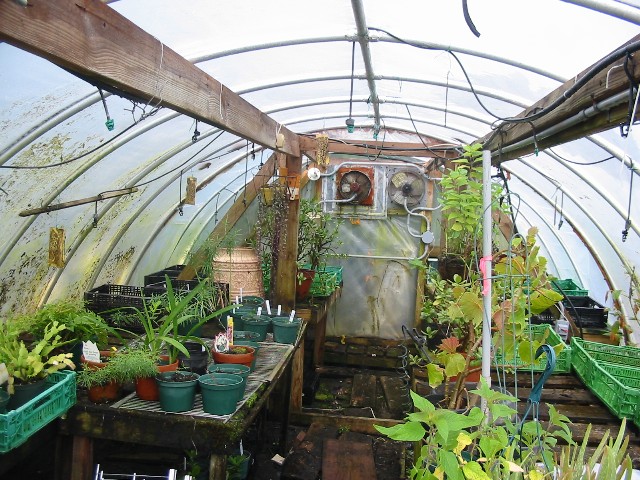
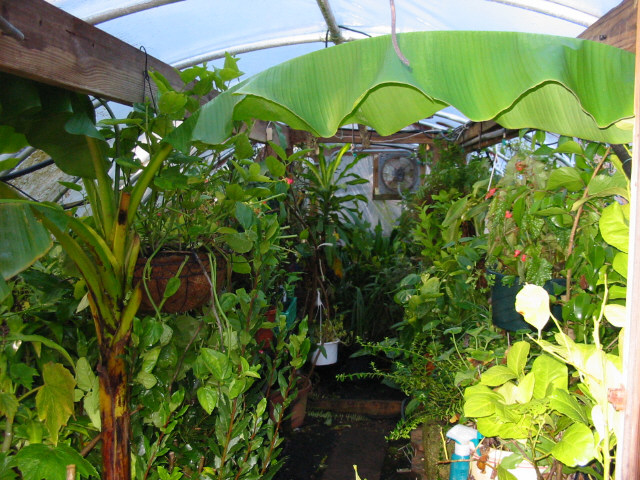
Photos:

E-MAIL ME

Last modified on August 10, 2008